.png)
Email Courier: Creating HTML Templates
Introducing our HTML email editor! With a drag-n-drop email builder, you can now create multiple email templates based on the selected email type (Invitation, Recommendation, Structured meetings schedule and Unstructured meetings update), change the content, include pictures, and link to files. Furthermore, you can name the template and change its structure and styling. Once you select a template, you can customize the content by editing it in the editor. Creating different templates will allow you to customize your messaging to the different groups that your event has.
Accessing the HTML editor
Step 1: Access Email Courier
On Sense, go to Tools and click on Email Courier, and select the HTML tab
Step 2: Select the Email Type
Under Templates, choose the Email Type from the dropdown list that you would like to edit/create. There are currently 4 HTML email types available for sending via Email Courier:
- Invitation - this is the first HTML email that all users will receive when we launch the platform, which contains details of the Engagement Hub, as well as their unique access links and passcodes
- Recommendation - this is the email that suggests certain attendee profiles to a user using our AI-powered recommendations that adapt to each user’s interests and activities on the platform, delivering the most relevant content promptly
- Structured meetings schedule - this is the final meeting schedule of all confirmed virtual and/or onsite meetings during the event days, typically sent a week before and the day before the event
Unstructured meetings update - this email shows the collated chat conversations on a weekly basis
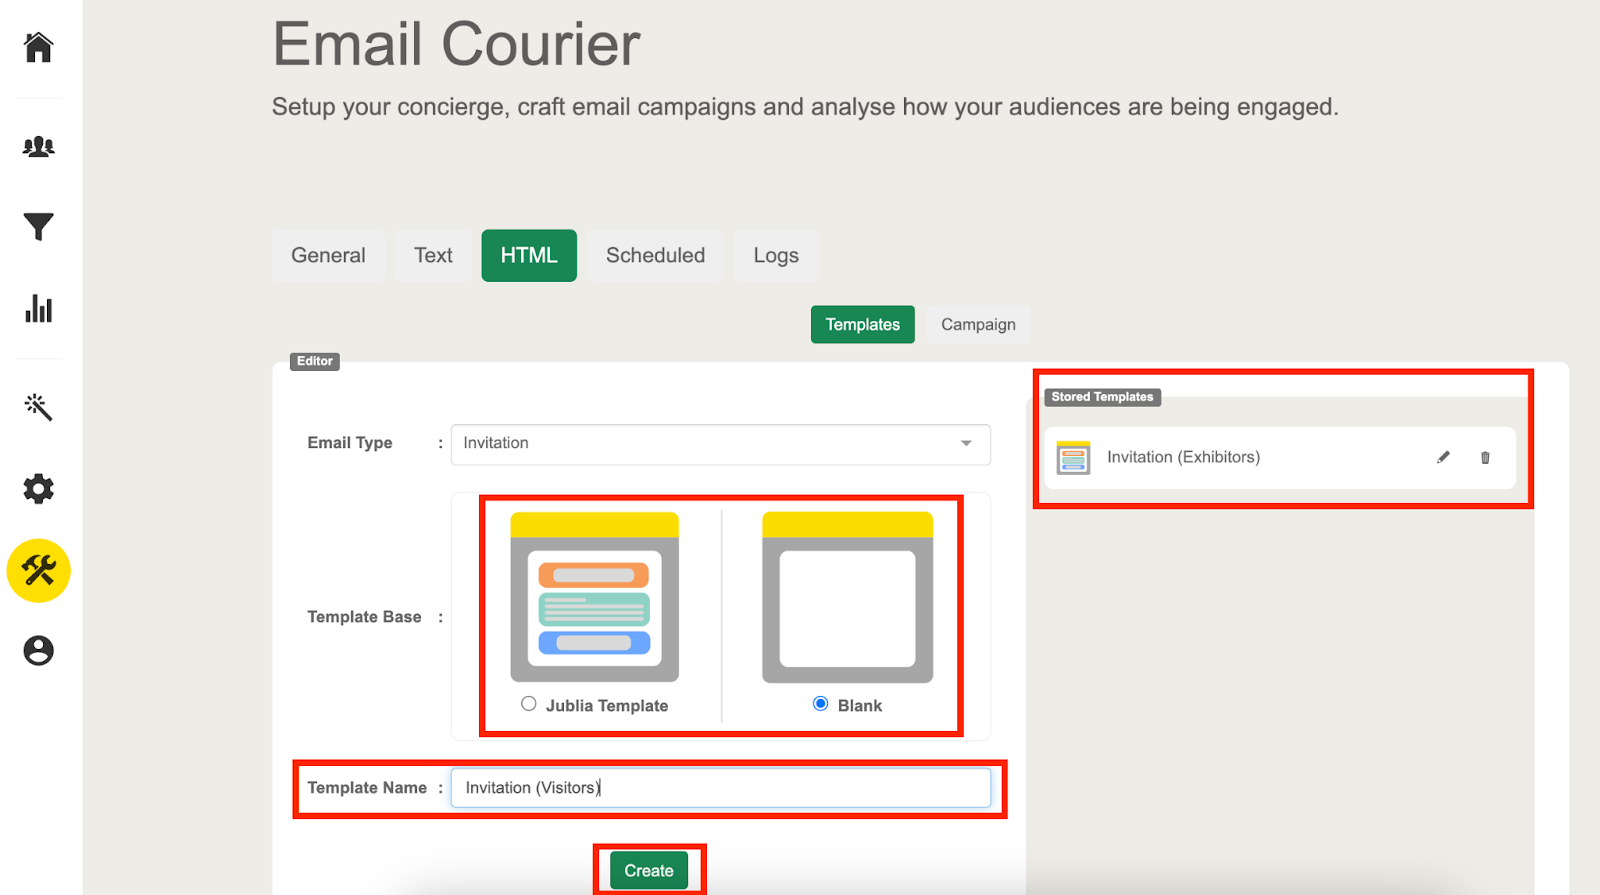
Step 3: Select a Template
The Templates tab is where you will be able to select a Template Base - either the Jublia Template or a blank template that you can create from scratch, after selecting the email type. The Jublia Template can also be edited and customized according to your preference.
Step 4: Create a Template
After selecting the template that you would like to use, enter the Template Name and click on Create. Your template will be stored in the Stored Templates panel on the right. Click on the edit icon located on the template that you want to work on.
For more detailed instructions on how to create and edit the HTML templates, please refer to the guides below.