.png)
Datasync: Managing Your Database
This guide provides a comprehensive overview of Datasync, your essential tool for handling databases. It covers everything from accessing, downloading, and uploading data to manually syncing your database.
Step 1: Accessing Datasync
To access DataSync, follow these simple steps:
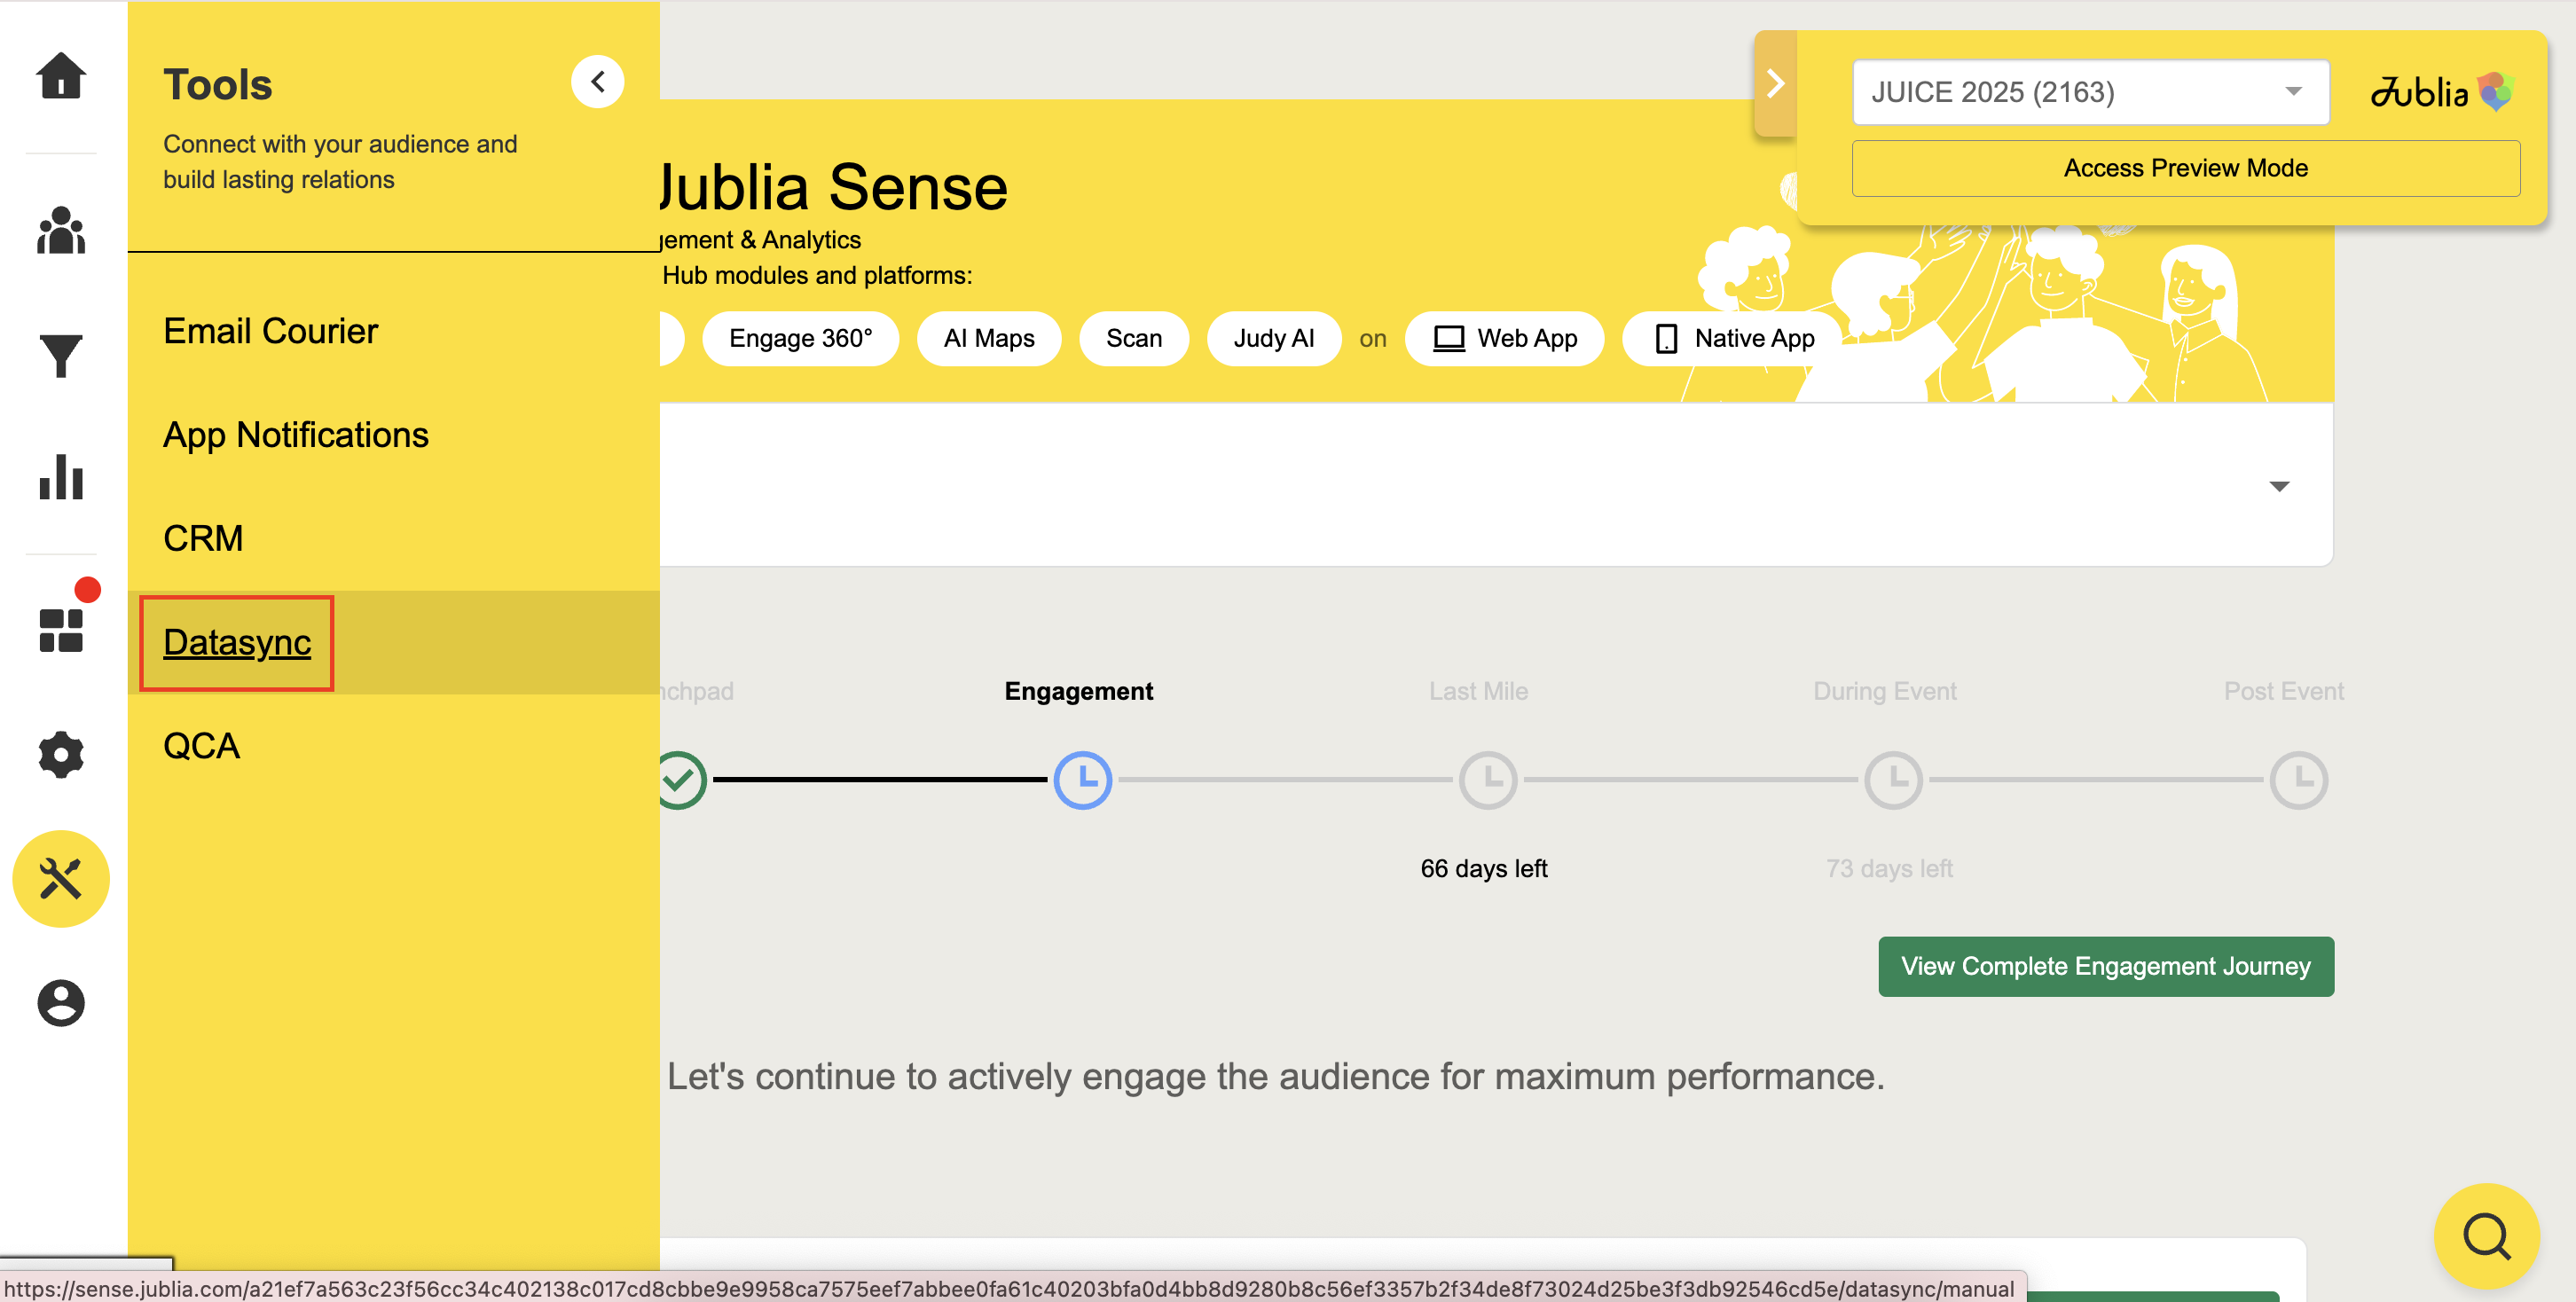
On Sense, go to Tools > Datasync
- To gain access to the database (Google Sheets), start by adding your email. Click on the Add Email button and then hit Save.


- Click on the Access Database button to take you to the Google Sheet.

- Important Note: Avoid adding attendee emails, as this action would grant them access to your entire database.
Step 2: Self-Service Data Uploading
Adding data to the database is a straightforward process with Datasync. Here are the key points to keep in mind:
- Always add new entries below existing data.
- Input data starting from the "Email" column (Column F) onwards.
- Any changes or additions to the Sync Status (Column A) will be marked as "NOT SYNCED."
- Essential data includes Email (Column F), Full Name (Column G), and Company (Column H).
You can leave columns such as Company URL (J) and Company Description (K) blank if no data is available. These fields can be auto-filled by our scraper.
Please Do Not:
- Modify data in Columns A to E, as these contain sensitive information and are automatically populated.
- Add, remove, sort, or filter rows or columns.
- Add comments to the database.
- Alter login passcodes and IDs (Columns B & C), as this information is sensitive.
- Rearrange columns or rows within the database.
Step 3: Attributes
Datasync supports four types of attributes:
- People: These are general attributes, typically displayed as basic values, such as in dropdown menus or within individual profiles.

- People and Product Interest: Categories that indicate preference data, such as "Looking for", "Countries of interest" and "Product interests."

- Special Attributes: This includes associating attendees from the same company for activating the company view feature with an internal special attribute: SPECIAL_COMPANY_IDENTIFIER.
- To upload product images and description, the internal attribute SPECIAL_PRODUCT_IMAGES is used and the format of the value in this cell should be: Image URL|Title|Description

Step 4: Manual Database Syncing
Sync Database is a valuable feature that allows you to synchronize your database efficiently. Follow these steps for manual database syncing:
- Specify the range of row numbers for the newly added data.
- Click "Sync Database." Avoid making any changes to the database during the syncing process.
- Once the sync is complete, Sense will confirm its success. By default, the system will automatically send invitation emails after a successful sync, although you can customize this setting.
Post-Sync Database:
- Newly added or edited data will display as "SYNCED" in Column A.
- Each user will have their ID and passcodes generated in Columns B and C, respectively.
Exporting the Database
The Datasync Google Sheet can also be exported into a CSV file, which presents your data in a straightforward and easy to understand format.
Step 1: Select the database to be exported
Click on the Download Data button and select between the Attendees or the Companies database.
Attendees = Includes all attendee information, including contact details.
Companies = Includes information such as company name and the company URL to their listing on the Jublia platform, without any attendee or contact details.

Step 2: Filter the exported database (if needed)
Directly click on the Export button if you want to export all the information from the database you’ve uploaded on Datasync.

You may filter your export to include any additional specific attributes, or filter the export by specific groups. Once done, click on Export and the CSV will be sent to your email within 30 minutes.
With Datasync, managing your database has never been more efficient and user-friendly. Explore its capabilities to streamline your event management tasks.
Related Articles:
- Fast-Paced Technological Advancements = Increased Data Security Risk?
- Data Security in Events: Why It Should Be an Organizer’s Top Priority
- Reg Collective: Zero-Cost and Integrated Registration with Jublia!
- Virtual Event Series (Part 9): Match 360° PRO
- Datasync: API
- Datasync: Success
- Self Served Data Upload